Thursday, October 25, 2018

Four Quick Cards with Quick Qutoes

Good day, everyone! It's Rebecca here today with a little card inspiration for the Quick Quotes blog. A few months ago, I had made a mini album from a Club Q kit that had envelopes. I decided to use up the "leftover" from the kit that included smaller envelopes.


                       " Four Quick Cards with Quick Quotes"


The envelopes measured 3 5/8 x 5 1/2.
  •  Cut cardstock 5 by 7 and fold down the middle to make card base
  • Add ribbon , doilies , glitter, and die cut greenery
  • Use PowderPuff Chalk ink to add dimension to layers, if desired 
  • Have Fun!!


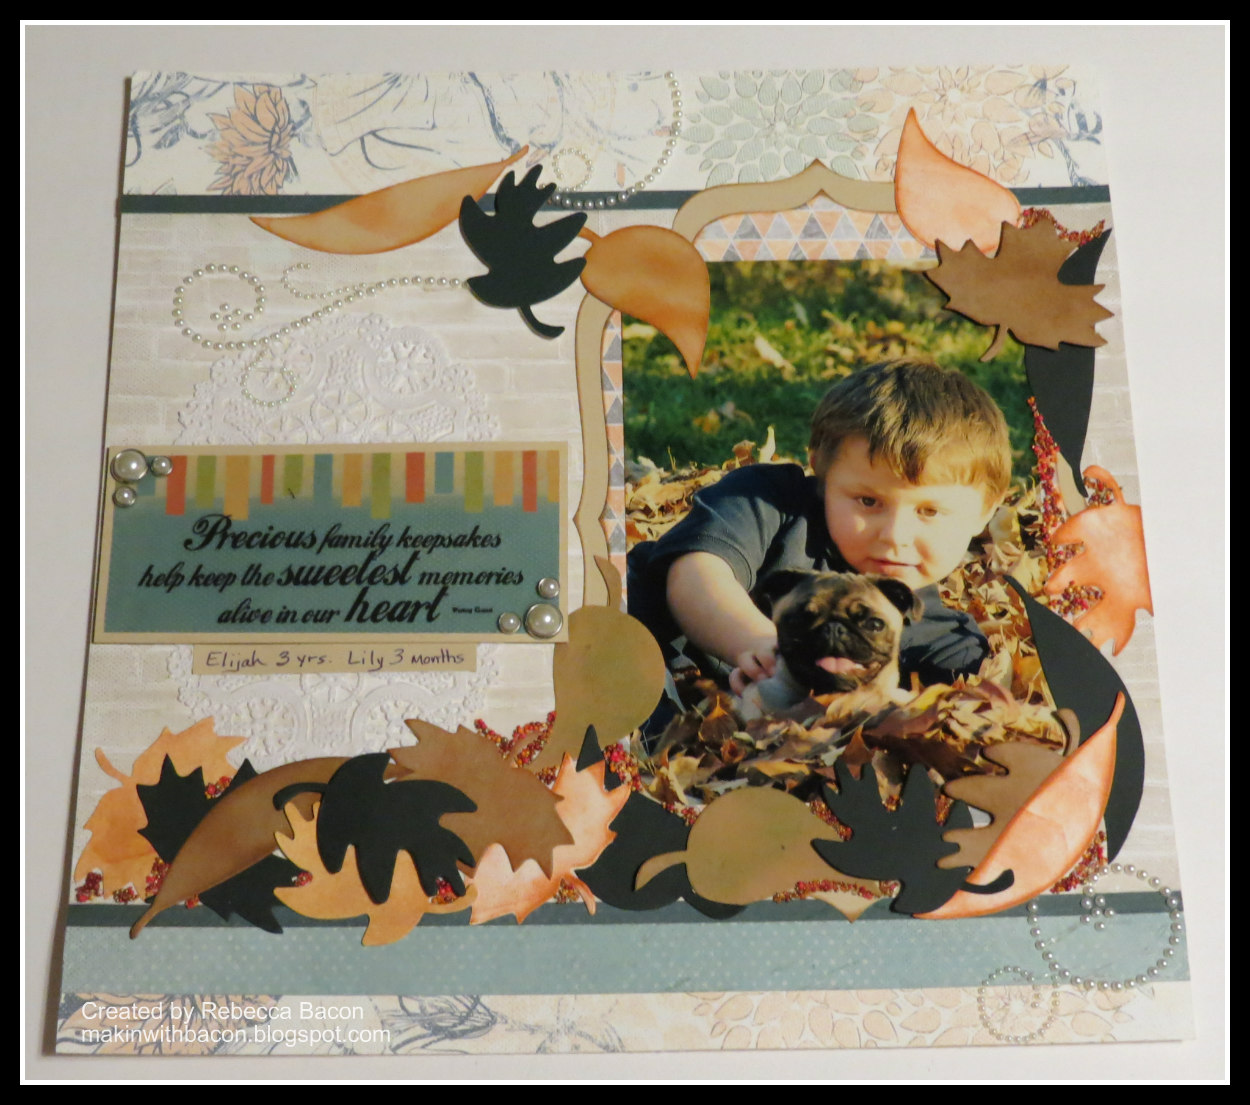
Just added a die cuts, ribbon, cardstock phrases and pearls for this one.

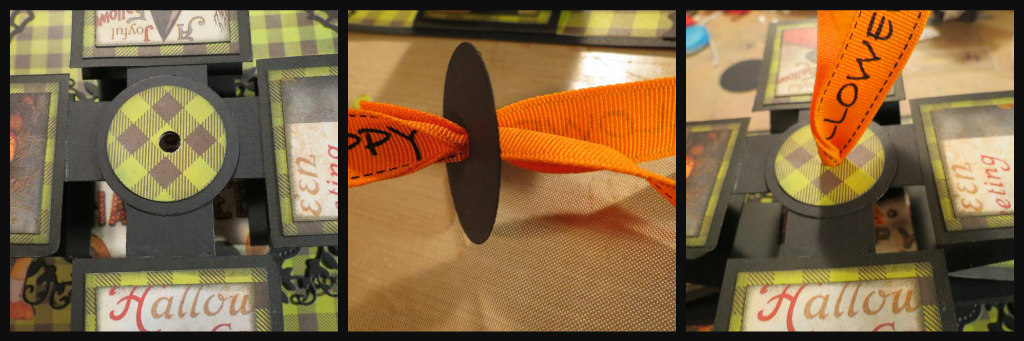
I die cut edge adds interest...

My favorite because the simplicity is part of the beauty AND it can fit any happy occasion!

The Main Street Paper collection is great for many, many things. For this one, I love the great background it provides for the die cuts that are being used as the focal point,.


I love how quickly these cards came together and that no "leftovers" remain!

Thanks for visiting the blog today!

Quick Quotes Products Used:
Club Q (Using previous kit)
Current Month

Main Street...Coming soon!
PowderPuff Chalk Ink:
Mango Mai Tai

Other Products Used:
Pearls by Want2Scrap
Dies by Tim Holtz
Word Die by Sizzix

Friday, October 19, 2018

Danger Zone Blog Hop


Welcome to the Danger Zone Blog Hop


This is a blog hop featuring projects inspired by the creepy, scary creatures of Halloween!

Connie Can Crop is the beginning of this "danger" filled hop! You should have arrived from
Sue- https://foleysfriend.blogspot.com
 but if not please start at the beginning. 

This is a one day blog hop, but you have until Sunday at 10pm to finish hopping and leaving your love for all of these talented crafters.


We have an awesome sponsor for this hop!!

Miss Kate Cuttables

One lucky winner is going to win their choice of 3 files!! 

What do you need to do to win? Easy... become  a follower of each of the fabulous blogs in this hop and leave each of them a comment letting them know what you like best about their projects.

You will have until 10 pm Sunday to finish the hop and leave your comments on every blog to be eligible to win. 
Winners will be announced on Wednesday 10/24/18 at Connie Can Crop.
Be sure to follow everyone and leave a comment along the way!


 Here is my "Spooky" contribution for this blog hop!

Let's get started!
Cut one piece of cardstock at 6 1/4 x 6 1/4 and one piece of patterned paper at 6 x 6

Cut  20 patterned paper at 1 3/4 x 1 3/4 and 20 pieces at 1 1/2 x 1 1/2 

Take the "B" side of your chosen paper and using a ruler, measure at 3" and make a mark. Repeat on all four sides and use the ruler to connect the marks to form a plus sign. Set aside.

Cut four pieces of  cardstock at 2 x 12
Score at 2, 4, 6, 8, 10 on all four pieces
Fold on score lines

Add adhesive to four ends

Attach adhesive end to the backside of your "B" side in the center of the pencil line. Repeat until all four are attached.  Make sure the score line is flush to the cut edge. Add adhesive to the back and attach to the 6 1/4 x 6 1/4 cardstock piece.

Add paper clips to keep thing contained and it helps with training the paper on the score lines.
Next, cut two pieces of cardstock at 7/8 x 3 1/4 and punch two circle punches. 

Glue the strips to form a plus sign. Punch a hole in the center of one circle and glue to the center of the plus sign. Add a nesting circle punched out of patterned paper and repeat hole punch.

Now, remove one paper clip and fold the paper away from you. Mat squares to each strip until all are complete.
Decorate the center as desired. Please note: If you are running something up the edge make sure it is flush. My Pumpkin man needed surgery with an exacto knife to become flush with the edge...

Take the Plus sign and place it under the first square of each strip. Use pencil to mark edge. Add glue up to the line and glue to the square.

Your card is now ready for ribbon. The ribbon will be going through the circle in the middle of your plus sign. The second photo in this set of three is merely for visual people. So pull the ribbon through the hole.

Flip card over and using hot glue or foam tape secure ribbon down and attach second circle. No need for patterned paper here; I glued my plus sign up side down 😂

There you have it... a Halloween themed Pop up accordion card! 


You have reached the end of the Danger Zone Blog Hop!
Thanks for joining us for some Halloween inspiration. 

Here's our line up in case you get lost along the way.

Friday, October 12, 2018

Precious Memories

Happy Fall, Y'all! Fall memories in Indiana for me always include raking a pile of leaves and jumping in them. One fall day, I was lucky to catch my son and his dog, Lily, frolicking in the pile. This is such a special photo because Lily died 2 years ago at age ten. We all miss her so!


                                                      "Precious Memories"


I die cut my frames and picture.


  • Die cut leaves with different colors of card stock
  • Ink them with chalk ink with several colors

  • I cut the brick paper and adhered it roughly an inch and a half from the bottom
  • I cut the dark green paper at 1/4 inch by 12 and adhered it flush to the edge of the brick paper
  • Next, I add a 3/4 inch strip of the light blue paper under  the dark green strip at the bottom


  • I cut a doily in half a placed as shown
  • Matted the vellum saying onto card stock
  • Add pearl accents to the corners
  • Attach with foam tape.


Add leaves in a cascading fashion

  • Cut apart a pearl flourish and add to the bottom right corner and the top center
  • Add glue to open sections and add prills


I hope your fall season is full of memories to scrap! Thanks for visiting the blog!


Quick Quotes Product Used:

PowderPuff Chalk Ink:

Other Products Used:
pearl flourish by Want 2 Scrap
Leaves die by Sizzix
Prills by Art Glitter
doily

Tuesday, October 2, 2018

Hello, everyone!  As the baby of 12 children, I have lots of nieces and nephews as well as great-nieces and nephews! I try to scrap a layout for their albums that is special and unique. Today I share with you a layout for my great-niece, Rylie Paige.

                                                      "Welcome Baby Girl"


I cut three strips of paper 3 x 12 and inked the edges of each.


Next, I matted all of my photos.


I then die cut several flowers and flourishes. 


After attaching the two strips  horizontally at the bottom of both pages, I glued the third strip vertically along the right side of the layout. 

I added a doily from my stash and attached a phrase from the cardstock phrases sheet.


                  Finally, I cascaded the remaining flourishes and flowers and added the title.


        This layout will make a great addition to my great-niece's baby album. I hope I inspired you to                                  get scrapping today!  Thanks for stopping by the blog today.


 Quick Quotes Products Used:
Harmony 101Harmony 103Harmony 104Harmony 12x12 Quotes and Phrases
PowderPuff Chalk Inks: Island OrangeBora BoraCool Grey

Other Products Used: 
dies by Cheery Lynn Designs
doily